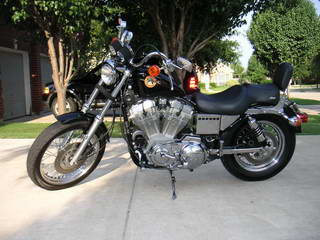
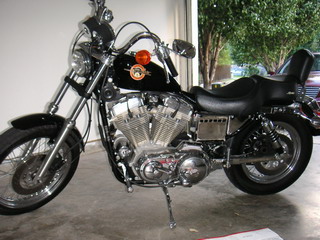
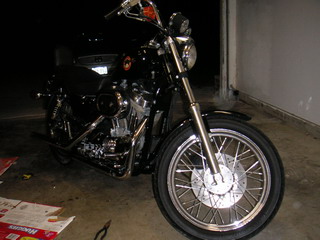
1993 Harley-Davidson Sportster
|
|
|
This story illustrates how to install a chrome forward control kit on a 1993 Harley-Davidson XLH 883 DLX Sportster. My bike had mid-controls, and I wanted to have a more cruiser-like driving position. I bought my forward control from KC International. |
|
The kit was pretty good quality. If you are considering forward controls for your Sportster, I recommend this kit. The parts are triple chrome-plated, and there were no parts missing - which is not usually the case, when receiving a do-it-yourself kit. Unfortunately, the instructions in the box were pretty much useless.
|
|
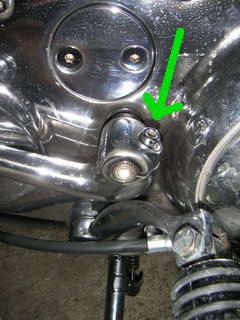
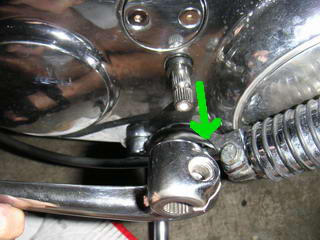
Because of this, I think I had to do far too much thinking-work while installing the kit. And the work, which was not difficult as such, took 2 1/2 nights. Because of this, I decided to document the work, hoping this helps you in saving some time when installing your forward controls! I started the work from the gear-shift side. Remove the lock bolt in the gear shift. Use a flat-head screwdriver to open the lock... |
|
...and pull the pedal out.
|
|
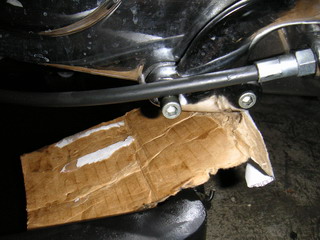
Next, we will move to the footpeg. The left footpeg is mounted using two socket screws. When opening the first screw, I noticed some moist. Since I was not sure if there will be a leak or not, I took my oil drain pan, and placed it under my bike.
|
|
Fortunately, there was nothing more than the drop or two around the bolt, which saved quite a lot of work, and also showed that the gearbox did not have an oil leak. Remove the socket screws and the footpeg. |
|
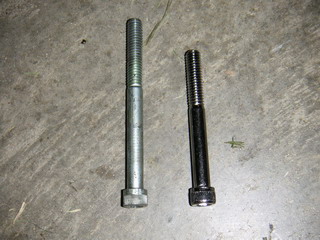
After having removed the footpegs, you will need to fill the screw holes with something. My forward control kit came with some slightly shorter bolts. In chrome, of course.
|
|
Install the new chrome socket screws in the footpeg screw holes.
|
|
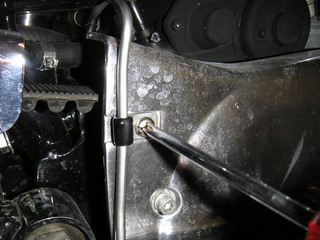
My Sportster had highway footpegs in the front without controls. Before installing the forward controls, you will need to remove highway foot rests. Open the bolts on the plate, where the left foot rest is mounted...
|
|
...and remove the plate with the foot rest. Then remove the foot rest from the plate. Do not lose the clutch cable clip or screws!
|
|
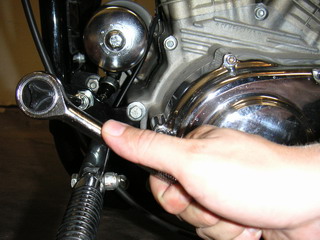
In my bike, the highway foot rests had extremely tight bolts. I had to hold the foot rest with an adjustable wrench, and work with a ratchet from the bolt side. Casualties: 1 ratchet. Before we can start installing the forward controls, we will need to remove the highway foot rests from the other side too.
|
|
Remove the highway foot rest from the right side, and replace the mounting-plate.
|
|
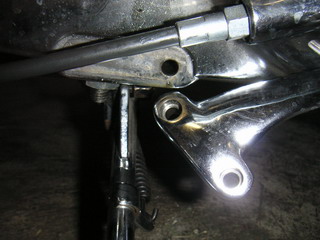
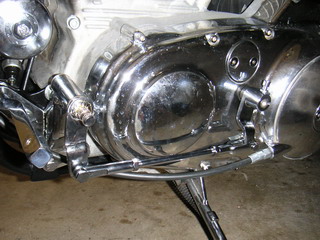
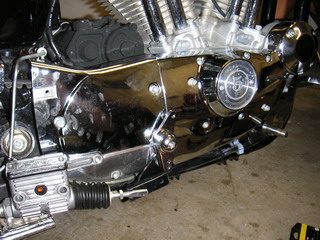
Now we can start installing the forward controls, finally! The forward-controls have a custom mounting-plate. Place bolts through the original right mounting plate, and put spacers to bring the control mounting-plate out. This will align your right forward control mounting plate with the original mounting brackets. |
|
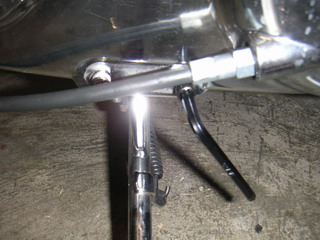
Install the original left mounting plate, and reroute the clutch cable. Add spacers to the bolts. This will align your control plate with the original mounting brackets.
|
|
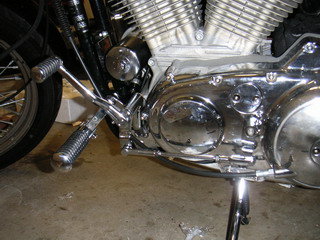
Install your left forward control mounting plate, and verify that all cables run nice.
|
|
Place the rigth forward control mounting plate to the bolts, and check that it sits well next to all cables, and supports.
|
|
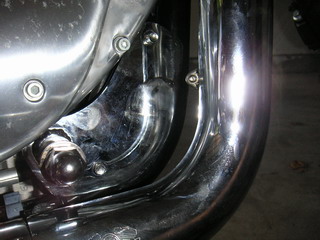
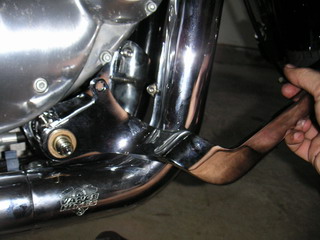
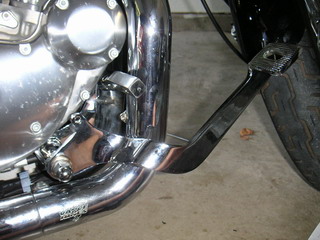
Take the forward control brake pedal and verify that it does not touch the exhaust. In my bike, the pedal cleared my Vance & Hines exhaust with a very small margin. But the margin does not have to be big. The most important thing is that the pedal does not hit the pipes. Do not tighten the nuts yet. Remove the pedal as soon as you are sure the clearances are fine.
|
|
Install the left foot peg support to the forward control mounting plate...
|
|
...and install the front link in the gear shift mechanism to the left forward control mounting plate.
|
|
Assemble and add the gear shift arm to the system.
|
|
Link the gear shift mechanism to the axle in the gear box.
|
|
Install the left forward control foot peg. Install the gear shift lever. Check that there is enough space around the gear shift line, and then tighten the lock bolts in both ends of the line.
|
|
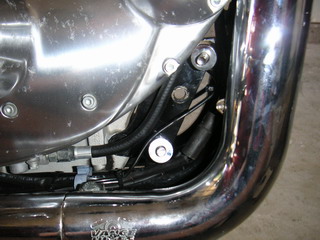
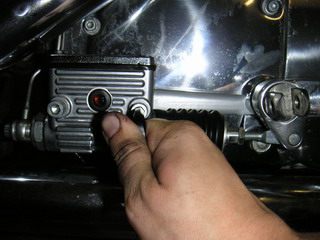
Installing the forward control line for the rear brake is a bit more work than you would expect. In order to get the mid-control brake pedal removed, we must remove the mid foot peg. Which has its bolt inside the sprocket cover. Open the socket screws in the master cylinder. |
|
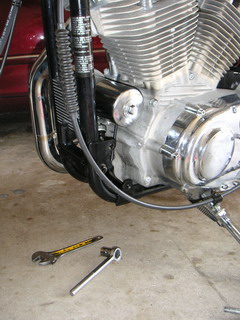
Remove the nuts from the front and rear cylinders. Remove the bolts holding the exhaust in the frame...
|
|
..and remove the pipes.
|
|
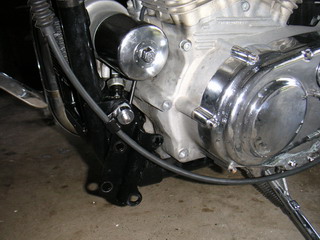
Remove the philips screw in the clip holding the rear brake line in the sprocket cover.
|
|
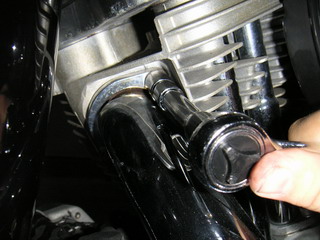
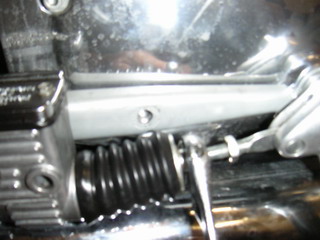
Turn the push rod in the read brake master cylinder at flats...
|
|
...until free of rod end.
|
|
Open the socket screws in the sprocket cover...
|
|
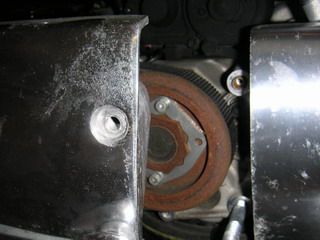
...and remove the sprocket cover.
|
|
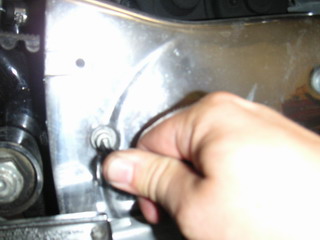
Open the foot peg lock nut on the inside of the sprocket cover. In my Sportster, the lock nut was so tight that I decided to cut it with my Dremel into two. Remove the mid foot peg.
|
|
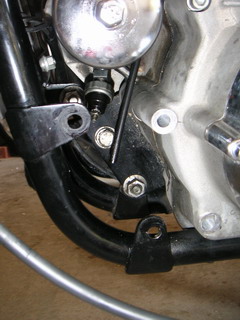
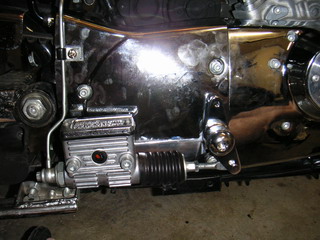
Install a link that drives the rear brake master cylinder rod to where the mid foot peg was.
|
|
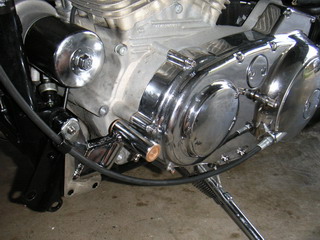
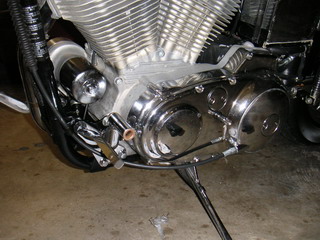
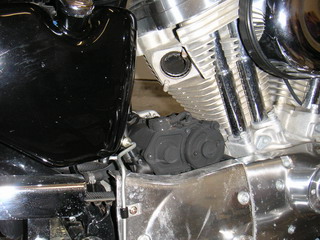
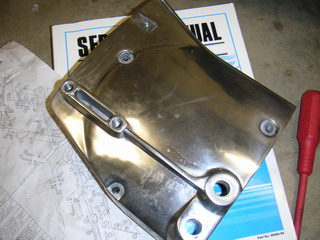
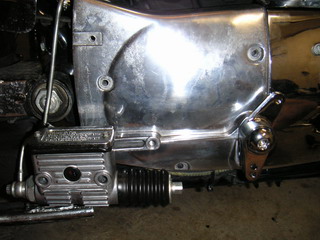
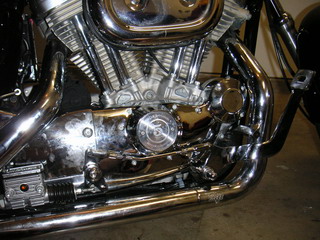
Now, since we have removed the pipes and brake master cylinder, it is a good time to add some chrome into your engine, if you want to. I had two chrome face-plates, which I added to the engine to make it more shiny.
|
|
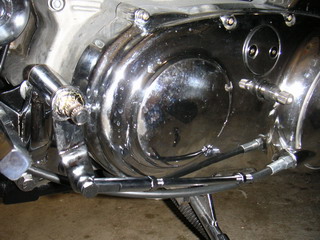
Install the rear master cylinder using the original socket screws. Install the rear brake line and clip it to the sprocket cover. Remove the rear master cylinder push rod from the original rear brake pedal, and link the master cylinder to the new control mechanism using this.
|
|
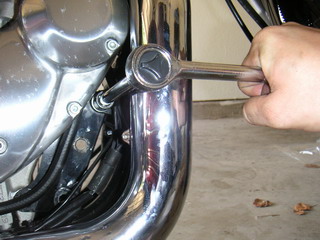
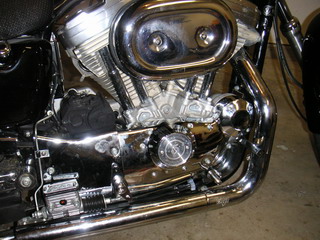
Install the front exhaust pipe.
|
|
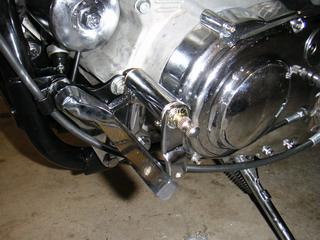
Install the forward control brake pedal and tighten the nuts and bolts in the right control mounting plate and controls.
|
|
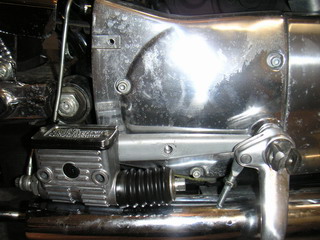
Install the rear exhaust pipe. Assemble and install the brake mechanism. Verify all clearances and make sure it does not scratch the covers.
|
|
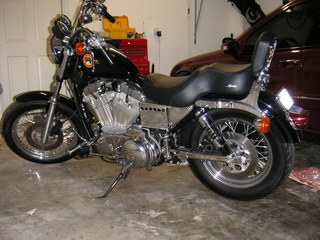
And that is pretty much it. It took quite a lot of time, but was sure worth of it! Now your Sportster has controls, which are more forward than the ones in a Hugger! Check all bolts and nuts one more time, fine-tune the forward controls using the adjustable control line arms.
|
|
Time to test-drive!
|
[Back]