Mercedes-Benz W208
|
|
|
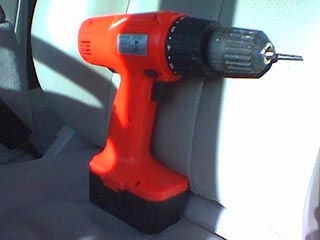
A battery-driven power drill with 2 mm, 2.5 mm, and 3 mm twist drills will be needed in the installation work. |
|
Self-tapping screws are good for mounting the extinguisher cradle. |
|
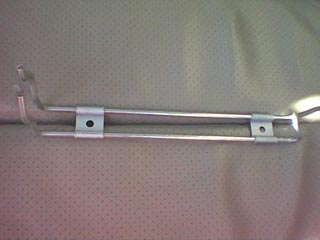
The extinguisher had a cradle with adjustable fixing points. |
|
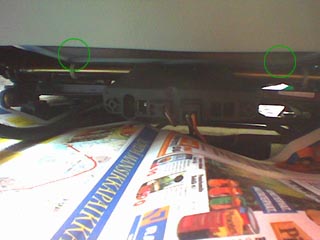
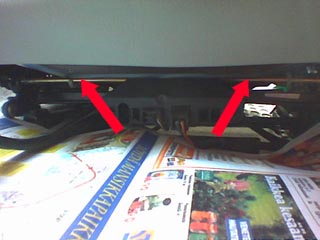
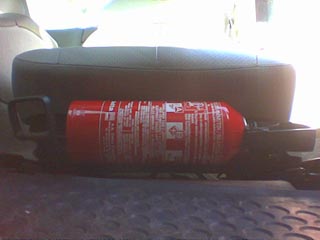
Fire extinguisher should always be close to the driver. Mercedes-Benz original extinguisher is mounted in front of the driver seat. The challenge here was to find a fixing point that would not cause problems when adjusting the seat. In front of the seat there is a frame. Mounting the extinguisher here makes it move with the seat. This way it does not block the seat at any point. Two fixing points were marked in the frame (in the green circles in the photo). Screw holes will be drilled in these points. It is good to place a newspaper under the seat before drilling. This helps a lot in cleaning the borings. |
|
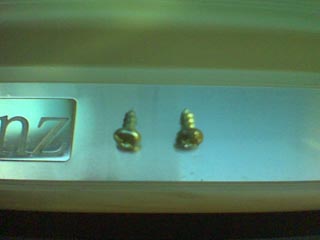
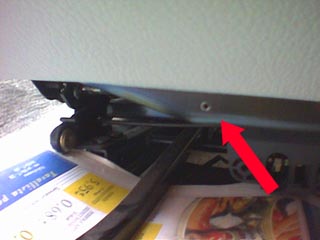
Two screw holes were drilled. |
|
Please make sure that you do not mount the extinguisher too close to the handle. |
|
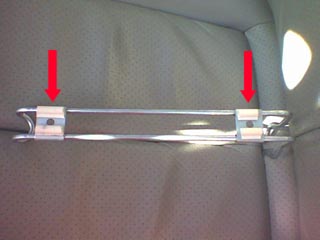
Mercedes-Benz CLK is a high-quality coupe. It is not acceptable to have extra noises in the car. Some tape was attached to the fixing points of the fire extinguisher cradle to ensure a noise-free installation silent. |
|
The cradle was fixed to driver seat with two self-tapping screws. Now, we can remove the newspaper from the floor and throw it with all the borings to a wastebasket. |
|
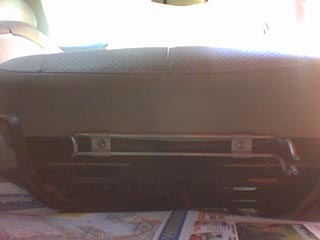
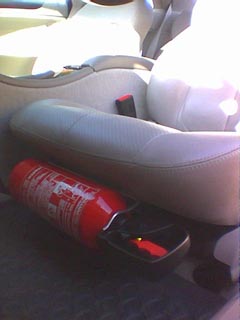
The fire extinguisher was pushed to the cradle. The installation was ready! |
|
As you can see, the installation looks quite nice from the top... |
|
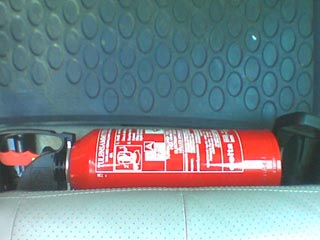
...and from the outside... |
|
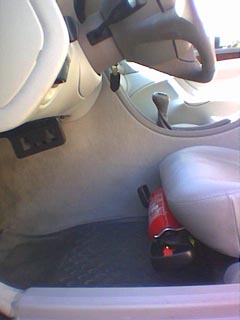
...even if you go to a perspective where you do to usually go to. |
[Back]