Removing Mercedes-Benz W203
|
|
|
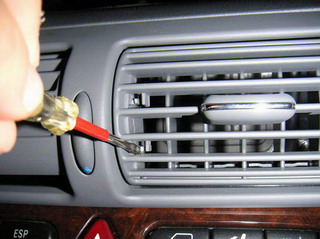
There are two hooks in each air vent. These limit the turning of the nozzle. Use a flat-head screwdriver to pull the lower hook...
|
|
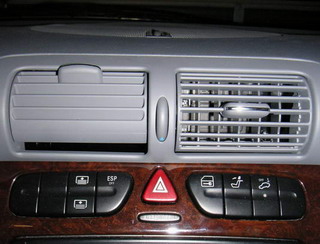
...and turn the nozzles all the way up.
|
|
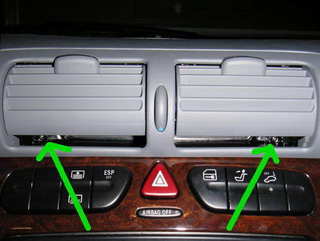
Behind the air nozzles, you can find Torx screws, which you need to open. These lock the air vent element and dashboard panel.
|
|
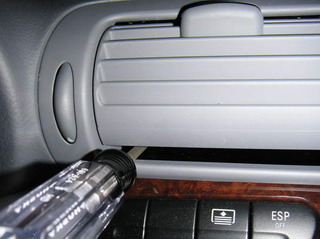
You will need a T20 screwdriver to open the screws. It is recommended to close the vents. If you drop one of the screws, it does not go into the duct.
|
|
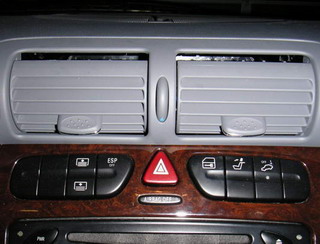
Return the nozzles to their initial position. Use a flat-head screwdriver to pull the upper hooks, and turn the nozzles all the way down.
|
|
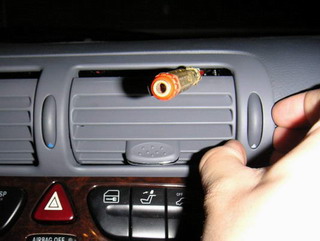
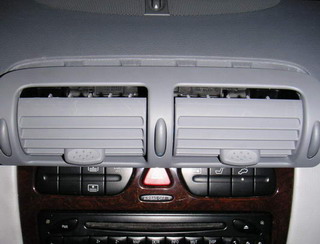
On the top of the vent there are four hooks. Pull them down with a small screwdriver...
|
|
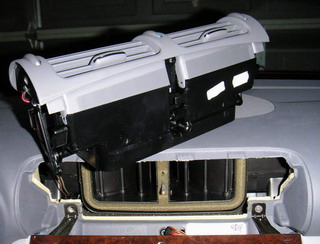
...and pull the air vent element out.
|
|
...out.
|
|
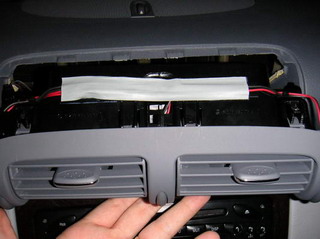
The hooks locking the air vent element from the top to its place look like this.
|
|
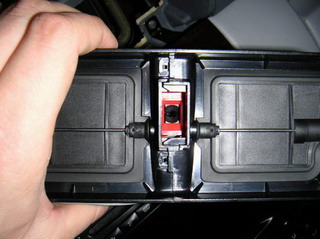
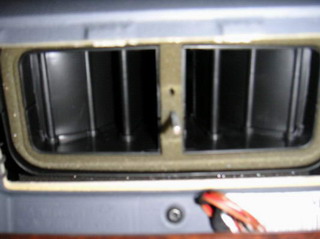
Notice that behing the air vent element there is a hole like this. When placing the element back...
|
|
...the "stick" on the dashboard must go to the hole in the vent element.
|
|
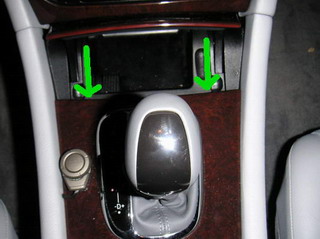
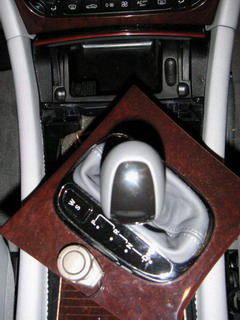
Now we can move to removing the panel around the gear shift. Open the ash tray cover. Take a firm grip from the front edge of the panel, and pull upwards.
|
|
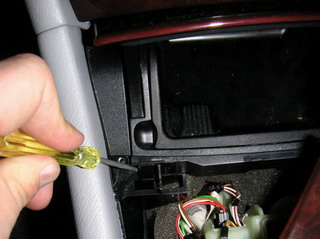
There are two hooks locking the panel to its place. After having opened these, move the panel to the front to get the rear end from under the center arm rest.
|
|
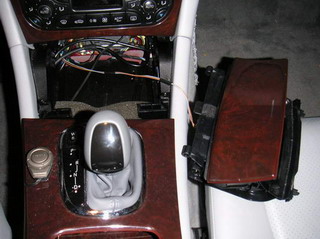
There are two plastic hooks keeping the ash tray on its place. Unlock them using a flat head screwdriver...
|
|
...and take the ash tray out.
|
|
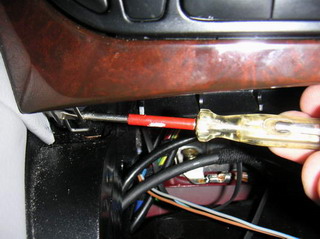
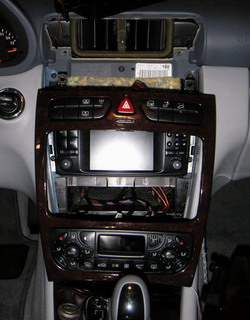
There are two hooks in the ash tray area under the instrument panel. Unlock these and the instrument panel can be pulled out.
|
|
Here we go!
|
[Back]