CD changer install
|
|
|
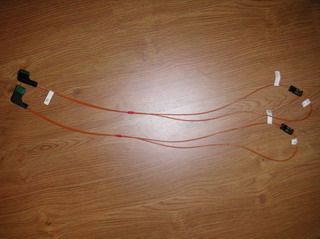
C Class Mercedes has a fiber optic loop. Also know as D2B. The loop starts from your radio or COMAND unit, and runs through virtually all the options in your car. When adding a CD changer, it must be added to this loop. Mercedes dealers sell a wiring harness. It gives you the power cables, and some fiber. But before you run to the dealer, you might want to check...
|
|
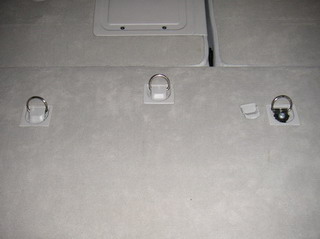
...if your car has any unused cables in its electronic compartment. In a C Class wagon, the compartment is under the cargo floor. (In sedan cars it is under a lighter floor panel, in the trunk, between the spare tire and back seat.) You need to remove the cargo hook caps with a flat-head screwdriver.
|
|
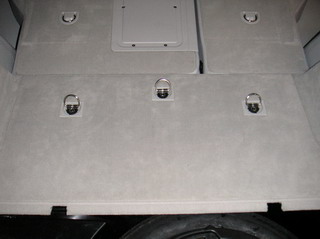
Under the caps there are three T40 torx screws. Open them and remove the floor. Remove the support. It sits there with four more T40 screws.
|
|
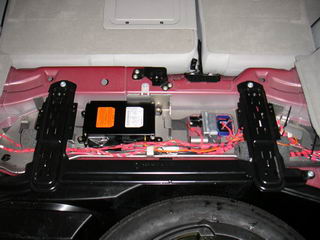
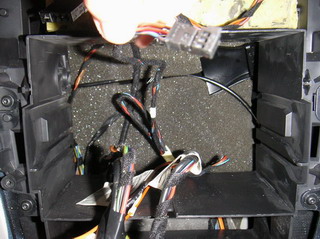
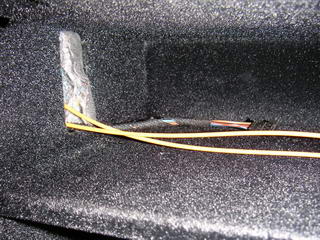
In the electrical compartment, there is a bunch of cables grouped with some tape. In this group, you might find one or more unused fibre optic cables.
|
|
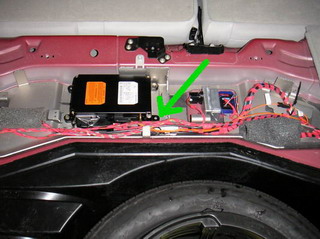
My car had two extra cables in the compartment. They were labeled SBS and TEL. Since my car did not have Linguatronic (SBS) or factory phone (TEL) option, they were not connected anywhere. Now we have the fibers for our work! One would have been enough, but more is not worse.
|
|
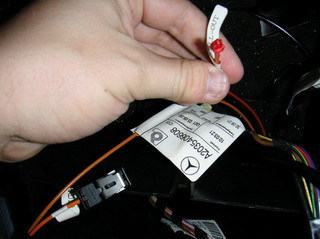
Next, you need to open the dashboard as illustrated here. As soon as you have removed the radio or COMAND unit, search for a pre-installed CD changer power cable from the area behind the radio. It looks like this, and can be found grouped with some other cables.
|

|
If your car has any D2B options, you will have a fiber connected in your radio or COMAND unit. Next we will add the changer fibers to the D2B loop. In addition to the SBS and TEL lables you might see some other labels in D2B fibers too. They are CO = COMAND, DCD = CD Changer, BO = Bose amplifier.
|
|
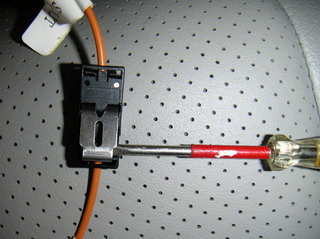
You can open the 90 degree connector, using a small flat-head screwdriver, or add the changer cables to a direct connector. The joint lock as shown in picture...
|
|
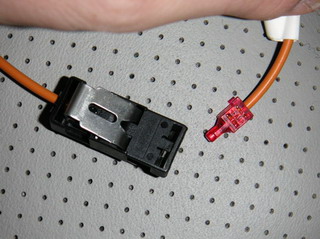
...and then you can pull the cables apart like this.
|
|
I decided to go in the direct connector way. Whichever approach you decide to take, the main concern is to make sure that the signal comes always out from a "red end" and continues to a "clear end". This is mind, nothing can go wrong.
|
|
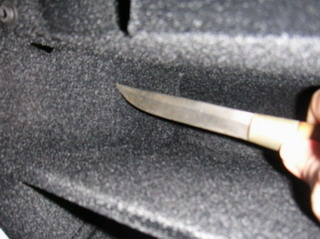
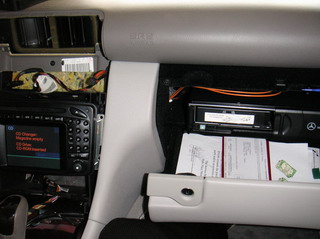
C Class sedan and wagon have their CD changer installed in the glove compartment. There is a ready-made door for the cables. All we need to do is to open it. An old army knife is great.
|
|
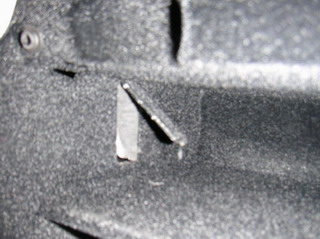
Be careful not to break anything when cutting the door open.
|
|
Now you can bring the power cable to the glove box...
|
|
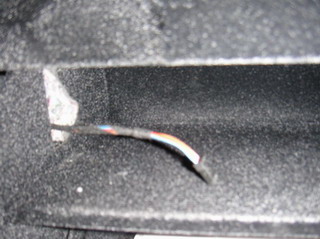
...and the fiber. Now we are almost done! Connect the cables to your CD changer, and load it with some great music. It is impossible to connect the cables wrong. They go only one way round.
|
|
If the changer wakes up, power is ok. If you see the time running on your radio/ COMAND display, fiber is fine too. If you do not hear any music, check the volume before you troubleshoot anything else. Now, it is time for the worst part in all projects: Cleaning up the mess we have in our garage after the work!
|
[Back]